
How to use the blue butterfly patches to DIY/custom Air Force 1 butterfly

The main purpose to design these iron on butterfly patches, is because i love the butterfly AF1 someone sell on Etsy. But the shop received many negative reviews, many guys complained the butterflies were easily peel off in few hours or one day only normal use, not worth so much money. Then the shop was closed by Etsy, due to so many complains. Even though i love them, but the quality is not as expected. So i was wondering if i can make one, which are pretty printing, not easy peel off and easy use for every one who love DIY. Now they are here.
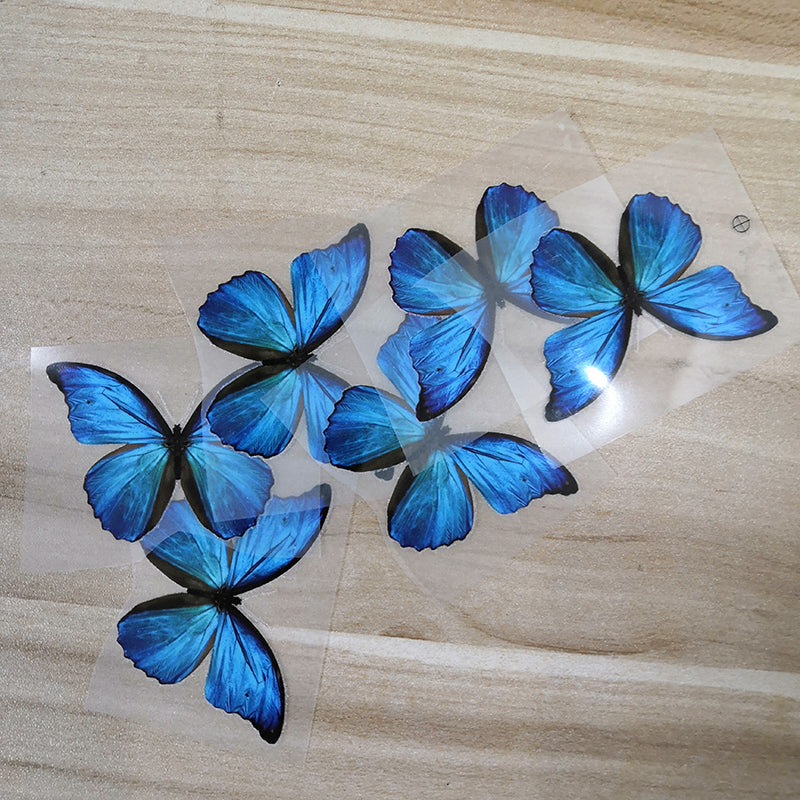
But how easy use they are? Let me detail how the blue butterfly patches made first.
The iron on butterfly patches for sneakers are total 3 layers.
1st layer is vinyl, where you iron on
2nd layer is the printing, the butterfly is there
3rd layer (the reverse side) is low temperature melt adhesive particles, 130℃ can better melt them.

There has parting agent between the 1st and 2nd layer.
Principles:
When ironing, the parting agent will separate the 1st layer and 2nd layer, the 3rd layer melt and stick to the shoes surface, then to peel the 1st layer.
What do you need:
- Iron
- Butterfly patches
- tape
Yes, that is!
If you don’t have mini iron or craft iron,the normal iron can also work, below will detail how to set and use the regular iron.
Now how to iron the butterfly stickers on the shoes? Mainly 4 steps, let take AF1 for example:
- Tape the butterfly patches on AF1, position them where you want them on AF1.
- Set the iron to 135-140℃
- Iron straight on the top-the first vinyl layer
- After the butterflies stick to the surface of AF1, peel the vinyl, and it’s done.
Tips:
- If the position contains a part of swoosh or uneven surface, iron directly on swoosh or uneven surface, including the side of them. For the stickers are flexible, ironing the side of swoosh make them no room, especially for the often folded toe box, better for lasting longer time. Such as below image.

- If you use normal iron, please use the tip, turn off the steam, keep temperature above. The same process, just the regular iron s large and heavy, not easy to control as the mini one. And be careful and patient, the normal iron can also work. Both normal iron or a mini one, please iron from one side to another, do not leave any room or air in the middle, or there will have some bubbles, like this:
-
 or
or 
- Both are caused by move a little when ironing.
- But better use the mini irons, there are some options:
 or
or


- Please do not move when ironing, or the butterfly will be some wrinkles.
- When ironed on, peel off the vinyl hot, different with the reflective ones, which have to wait them total cool down, then to peel the vinyl. (i will detail the different use in the article of reflective patches)
- You can watch my tutorial videos about how to iron them: https://bit.ly/2UHBc3W
Above all, why you should try these iron on butterfly patches if you want to decal your shoes:
- Easy use: iron straight on top, no need any transfer paper.
- Flexible: no worry about uneven surface, also can work on t-shirts, hoodies, jeans, canvas, leathers.......
- Waterproof: can be washed, brushed, wear in rain day.
 You can watch the whole video from theshoesgirl on YouTube.
- Durable:not easy to peel off, but still can remove. Scratch with your nails, take time and patient, you can remove them.
- Re-decal your shoes: remove the ones you are tired with, iron the new designs, with the lest cost to refresh your shoes as many times as you want , as long as your shoes can be worn.
- Work better on Vans or Converse: They work better on any canvas surface shoes such as Vans or Converse, you CAN NOT remove them after ironed on, so be carefully when you do such shoes.`
Now small sizes of butterfly patches for kids shoes had made out, easy DIY to make a perfect gift to surprise for your kids!
Any thing about how to use, please feel free to contact me: laufang22@gmail.com. Thank you for reading!
Wow this actually really worked and i love how mine came out i definitely recommend you to get these butterflies and to use a small iron but if you really dont have one its ok to use it but i feel like the small one is easier to handle but im really happy how this came out THANK YOU💕
@Adrian Navarro The Tom and Jerry one had not make the tutorial video yet, but the process is the same, as other iron on patches, such as the blue butterfly one. you can check the blue butterfly tutorial video here: https://www.youtube.com/watch?v=XiTlm0P1ekw&t
@Regina Djalo yes, you are right, thanks for point out and your suggestions, i will learn it and English is not my first language, a littler hard for me, but i will take your advice. Thanks!
Hi.. I ordered the Tom and jerry patch.. do you have a tutorial video of how to complete the shoe process?
You need to learn how to write because 90% of this page didn’t make sense